
This series follows my efforts as I knit a sweater for the very first time. Check out my previous posts on choosing a design, yarn, and knitting the back.
Let’s be frank here – sweaters are notoriously long projects. Even with my speedy Continental technique, knitting the back alone took me more than a whole week. It doesn’t help that I’m a pretty big guy. Just seeing the sheer amount of fabric I am producing to fit my body is making me reevaluate my diet and fitness choices…
Sometimes, after the long hours plopped on the couch half-watching Netflix, it begins to feel like a second job. My fingers and shoulders are sore. Oddly enough, though, my mind is relaxed. Muscle memory takes over, the knits and purls fly off my fingers, and there is only quiet in my thoughts. Considering my day job is mostly intellectual (software engineering), this is a welcome rest. In fact, it is probably the only way my mind shuts off. If I weren’t knitting, I would be programming a side project, writing bad poetry, or pushing myself in some other way. I never was good at letting myself relax.
The next part of the sweater is the front. Two of these are made, with the sides and pockets mirroring each other. The nice thing is, once the fronts are done, you can hold it up to the back and actually start to see your sweater take shape!
Like the back, each front begins with a 2×2 ribbing, which I chose to do in a contrasting color. From there, it changes to a basic stockinette pattern. The fun begins when, after a couple of stockinette rows, you grab a stitch holder and divide your stitches in two. About half become the pocket facing (lining), while the other half remain with the front. The pocket facing is worked on for 9 inches, then bound off. The front stitches are then returned to the needles, and stitches are cast-on to replace the stitches that became the pocket facing. These cast-on stitches (and the rest of the front) are worked on for 9 inches.
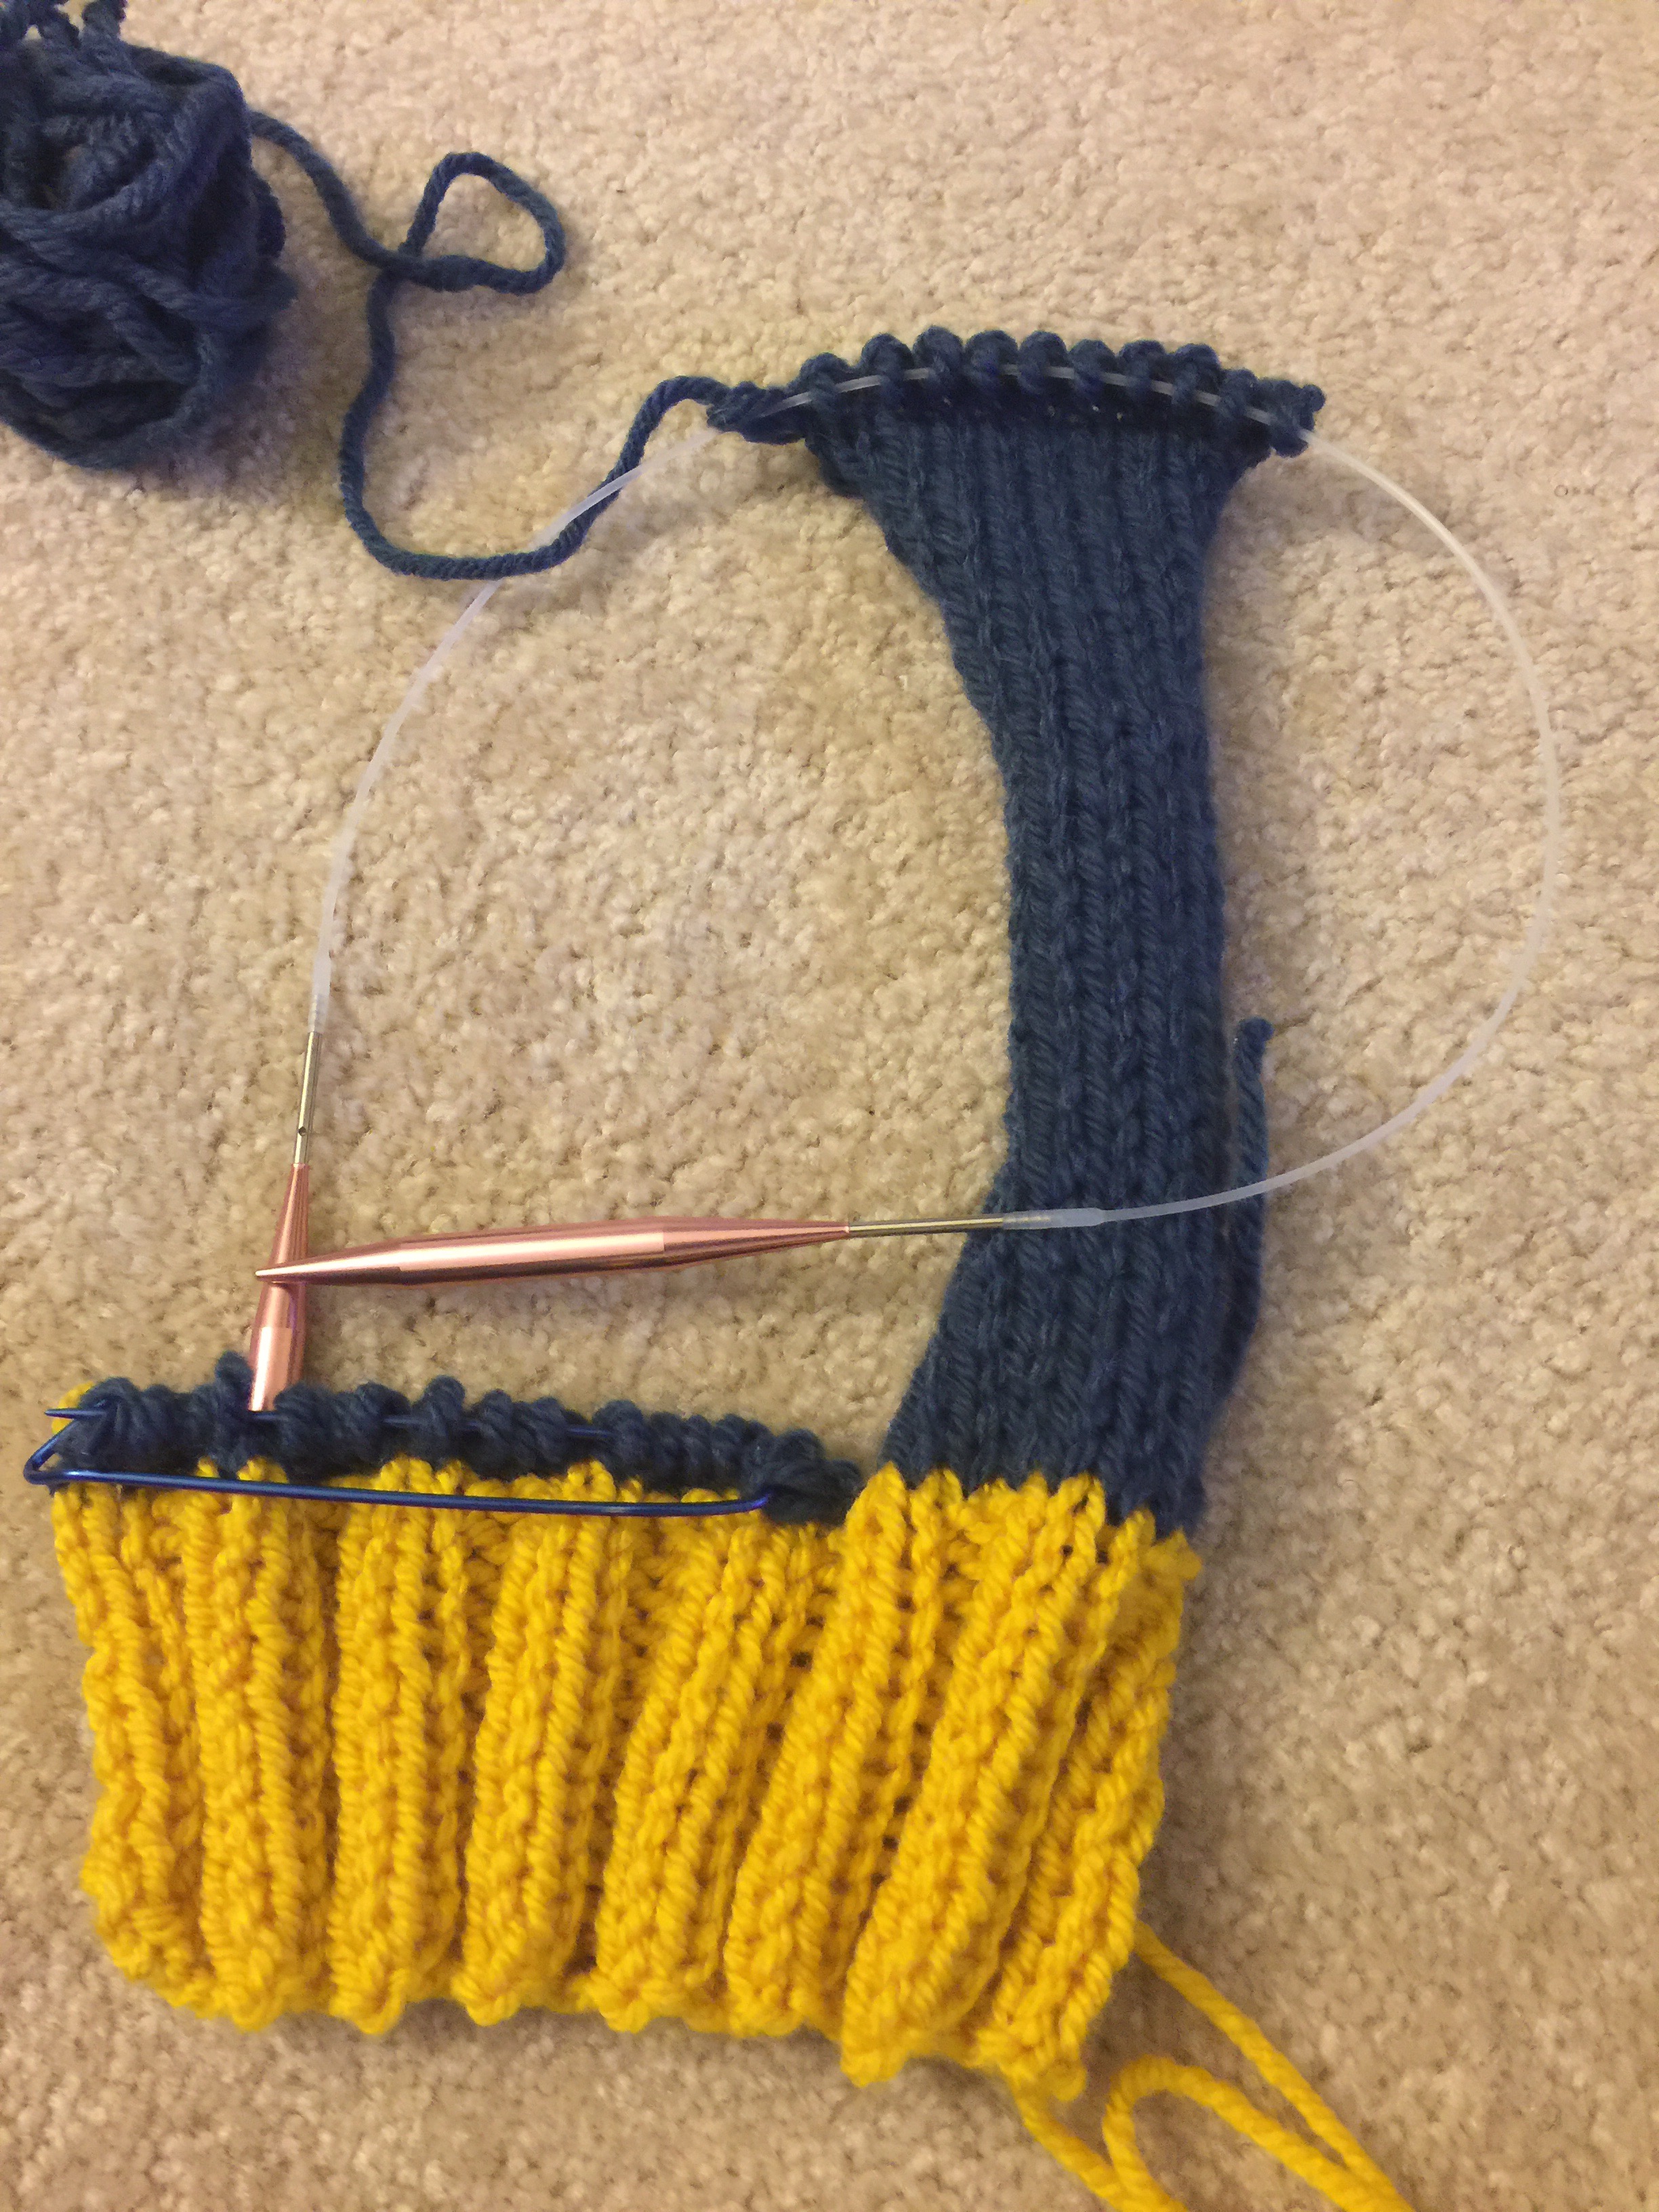
In effect, you are working on same area of the garment (pocket area) twice – once for the lining, and one for the front of the pocket. At this point, it may be difficult to visualize how the final product will look, but trust the process. All will become clear by finishing time!
The raglan and neck shaping is done similarly to the back. This time, I was smart and located my decreases one stitch in from the edge. The finished edge ended up looking much better. For an even better look, I would probably use the directional decreases (k2tog, ssk) next time as well.
Each front took me about 3 days to finish. Only the two sleeves are left, then it’s time for (gulp!) finishing. The end is nigh!